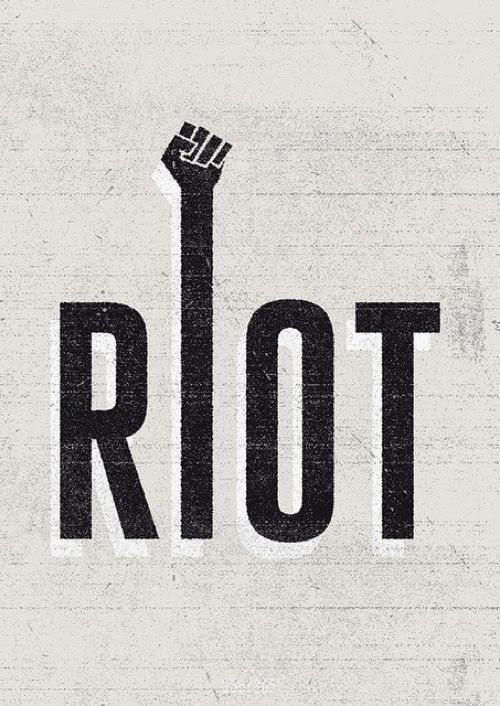
Sunday, 1 June 2014

The Performance

During the early stages of the research and development stage, the group had originally thought about a heavy performance piece for the Riot project. Have a big part performing with the cart and getting the audience involved. 

As our idea developed however, our piece slowly became more for a stand-alone piece, being the performance itself, rather than the group performing solely. 

Once we had set up the 'Machine' we then had to develop a routine for a small performance. This was tricky as we hadn't focused of a performative side and thought that the machine itself would be leading the audience up into a space, where the other two carts would be situated. 

Considering the amount of time that we had, I feel that our group worked effectively trying to focus no coming up with a performance to best show of the Machine. 

I feel that the three carts were all placed in the correct order to give a narrative to the entire performance. Our cart being first represented the industrial side of Nottingham, the growth of machines and labour. 

The only thing I would have liked to have happened, would have been for a bit of information given out to public viewing the performance to give our starting performance some context. With a bit more information I feel that our machine would have been better communicated to the audience. 


Thursday, 24 April 2014

RIOT Response


RESPONSE TO RIOT


  • Fire
  • Destruction
  •  Rebel
  • Power
  • Flags
  • Noise
  • Masses of people
  • Smashed items
  • Red/ Orange/ Black
  • Hot
  • Scary
  • Screams
  • Wild Animals
  • Lion / Crows/ Raven
  • Signs


Thursday, 17 April 2014

Skills Week | Scenic Painting

This week we have been working in the Nottingham Playhouse workshop learning scenic painting techniques.
We started by taking a picture of a column that we liked then marked it out onto the board.
I thoroughly enjoyed marking out and building up the layers of paint for the column. Learning how to start with a light, watery base paint and creating marks in it which would show through at the end of the project. From here, the we then moved on to darker colours to create shadows. We started with a light colour first so that we could still see the lines that we had drawn on.
After creating the shadow we moved onto the making the darker sections a bit more dramatic. We did this by using more layers and using textured sponges. The sponges create the lines which I put on the left hand side of my pillar. Because it is meant to be viewed from a fair distance the lines of the sponge give a good visual effect of the shadow gradually darkening.
After the shadowing, we then placed some highlights along certain sections of the column. I chose the light to be coming from the middle right, as if the sun was setting to create a slightly harsh shadowing appearing on the left, I had pre decided what I wanted to do for a back ground and thus the lighting placed itself.

For the background I had already thought about and been inspired by an artist who inspired me a few years ago, as still does. I chose to follow the techniques of Bob Ross. I wanted to make a dream like sky which was beginning to set. I chose to use light blue and pink to create a dream like sky, towards the end of painting the sky I realised that I did not want the column to have little context, so from here I decided to make a mountainous landscape, giving the illusion that the column was at the top of a hill and from the top you could see mountins in the middle distance.

I really enjoyed this skills week and felt inspired again. I think I learnt a lot and I was a lot more carefree with my work than I normally am.


Friday, 11 April 2014

Puppetry Project


For this next project we will be working around a contract with Nottingham Castle.
We will be making three carts and then parading them at the castle in celebration of what came out from the Nottingham riots of 1831. 
In 1831, a group of rioters decided to invade Nottingham Castle which was owned by the Duke of Newcastle. The Rioters managed to get in to the castle grounds and burn down the castle.


Friday, 28 February 2014


Modelling on a Drawing Mannequin -


We started the new project by working on the drawing mannequins. Using our costume designs from The Beggar's Opera project in the first half of the term we are now developing one of our costume designs and making them into a 3D design.

I have chosen to recreate and model into a 3 dimensional costume my design for Miss Peachum. I think I wanted to do this particular costume because I thought that I could best represent the comedic aspect that I wanted to do for my concept.


With the mannequin, wrap cling film around the body and limbs to protect the wood from getting glue or paint on it. The Cling film will also be useful at the end when it comes to cutting off the tissue paper costume.

- Wrap mannequin in cling film to protect the mannequin.
- Start building up the shape of the costume that you are wanting to recreate.
       - Women - make sure to include the under garments too illustrate the time period.
- Build up the tissue paper with glue and get the desired shape and silhouette of the time period.
- Colour the costume - either with coloured tissue paper or paint.
- Leave to dry
- Once dry cut a straight line down the back of you costume, this will make it easier to remove later.
- Leave to stand - perhaps create a structure that you could use to help the tissue paper costume keeps its shape whilst its not on the mannequin.

Repeat again doing a Man if you have already done a Woman, or vis versa.


Thursday, 13 February 2014

Skills Week | 18th Century Corset Making


This week we have been learning how to fit and construct an 18th century corset. After working on a set design for an 18th century play, I found this skills week to be very useful and rewarding. Having the skills week, a week before our Beggar's Opera project finished, it gave us time to see one to one how the silhouette of the time period was made.

I have really enjoyed this skills week as it allowed me to go back to the sewing machine, something I am comfortable using but also pushed me to learn new things, such as pattern laying, amending the basic pattern to fit me and seeing how the panels and boning channels work together to form shape and support for the wearer.

My corset fitted well and given another day I would have been able to finish it entirely. At the end of the week the only section I had left to do was the bias binding around the neck of the corset. Unfortunately with the number of people and number of machines there wasn't enough time to finish the corset entirely so this I finished off in my own time.


Saturday, 8 February 2014

Making the Set - Picture Frames.

I liked the idea of comedy in a show, I also thought that social class was important in The Beggar's Opera To combine the two on stage I decided to use large (over sized) picture frames, painted in gold and bronze. 

The frames are to represent the quality and hierarchy of those with power over those without. I chose to link two of the frames, one gold and one bronze to demonstrate that the social classes will always intertwine and be around each other. 


I made the frames from black card because I thought that it would give the best surface to stick clay to.