The second type of mask making that we did this week was to make a mask using clay and paper.
We started this project of by being given two words. My words were 'Weary' and 'Sentinel'.
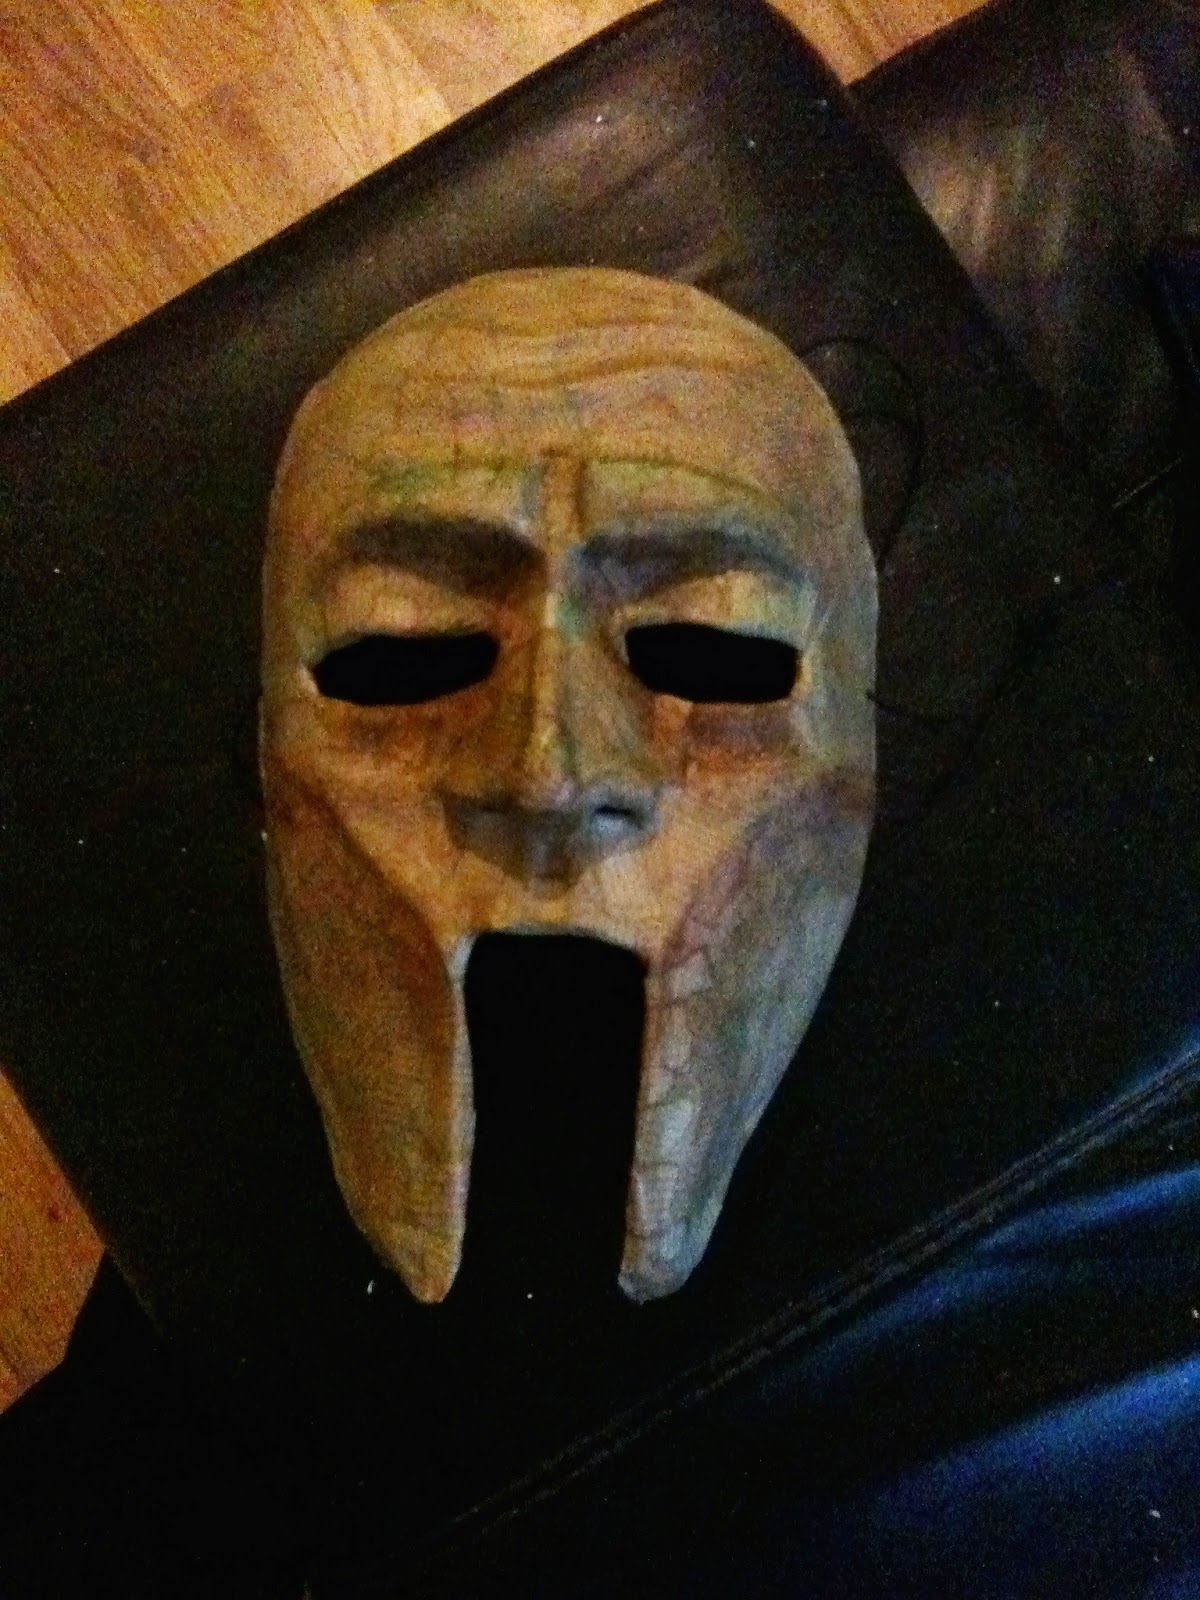
After this we then we given a basic mould of a face and asked to build on top of it. Using clay we built up a basic shape. I chose to go with a very uniformed and strong shaped face to connect to the sentinel, guard sort of idea.
Building onto of the face we worked into the clay and created strong lines and forms across the face. Once the mask was complete, to the way in which we want then we covered the mask in vasiline so that the plaster we put over the mask wouldn't stick or ruin the shape.


Before creating the plaster mould we made a clay barrier so that the plaster wouldn't slip everywhere. Mixing part water and part plaster (enough so that the plaster powder peaks just above to water line). Then mixing them together to create a thicker, dense liquid. We drip the plaster over the mould, making sure we get into the eye sockets, even blowing air into the harder to reach areas and getting out the air bubbles. Once the finer details like the nose, eyes and mouth are all sorted we then drip more of the mixture over the entire face and layer it up to create a solid bowl like structure. Once there are enough layers, using a flat spatula or blunt bread knife create a flat surface, making sure to be careful enough to not catch the clay underneath the wet plaster. The flat surface is for later when the solid plaster will turn upside down, and sit stable on the table.
Once the plaster has dried over night we then carefully remove the clay and we are then left with the negative mould of the mask. Clean out the clay that has stayed in the plaster mould with water and then cover the inside with more Vaseline. This is for the paper that we then layer up in the negative mould. Starting with the nose, as this is the hardest place to get to, then working on out to the sides of the face. Making sure everything is covered in brown paper and glue, let this dry.
Once the brown paper and glue are dried, tare pieces of blue cloth and repeat the paper mashe technique, creating another layer. When paper mashe-ing, with the brown paper and blue cloth, it is important to cross over the pieces, this makes for a stronger structure.
For the final layer, another layer of brown paper finishes the structure. Because the layers will still be wet, especially the nose, we then used a hair drier to allow the paper mashe structures pull away from the plaster.


To finish off the mask we measure the best place to punch holes into the side of the masks for the elastic to go through. by doing this we worked together and placing the mask on whilst another person lines up the eye holes with the top of the wearer's ears, then measuring in 1cm from the side to punch the holes.
No comments:
Post a Comment